

Lesson Summary
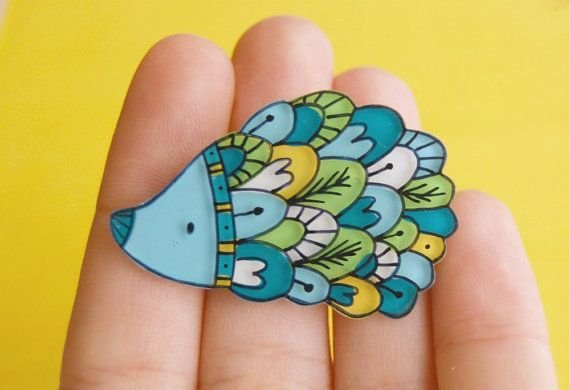
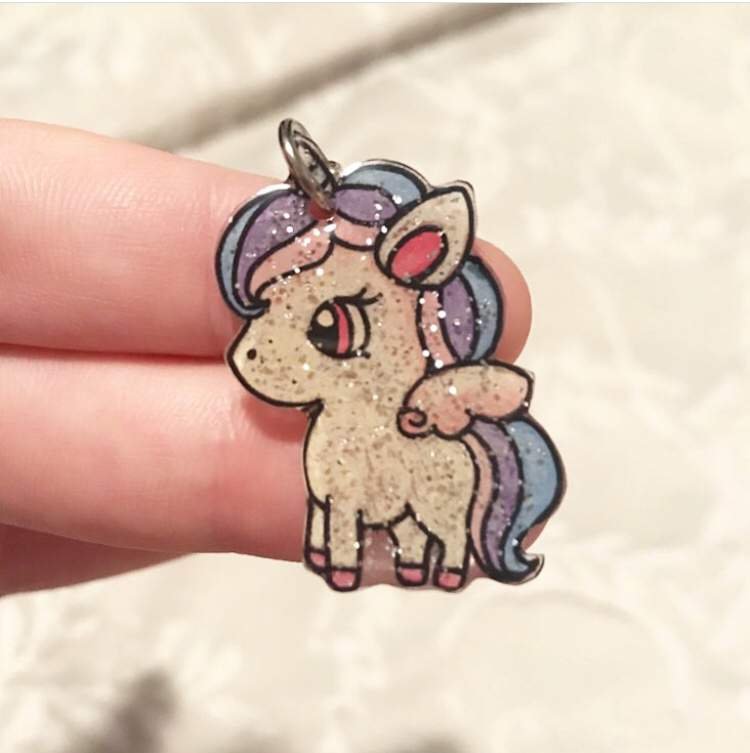
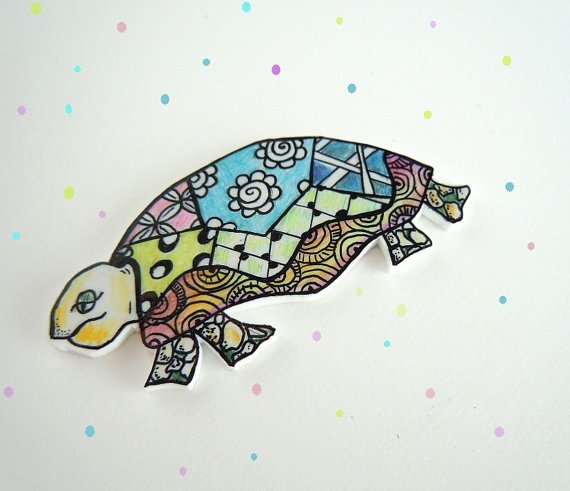
In this lesson, we'll explore the creative possibilities of shrink plastic to design unique graphic artworks. We'll focus on applying graphic design principles, typography, and illustrations in creative ways to produce personalized shrink plastic creations.
Lesson Objectives
Learn about the properties and potential of shrink plastic as a creative medium.
Experiment with different techniques to create dynamic and visually engaging shrink plastic artworks.
Incorperate graphic design, typography and illustration elements into artwork.

Discussion Questions
What is Shrink Paper? Have you ever used Shrink Paper before? What is the visual appeal of Shrink Paper?
What challenges or opportunities do you anticipate when working with Shrink Plastic?
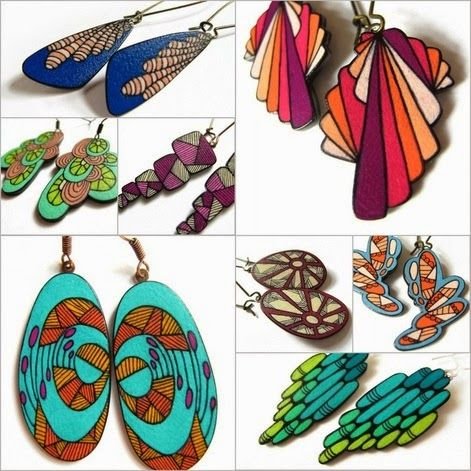
Your Shrink Paper artwork may incorporate elements of graphic design, typography or illustration. It can also have a combination of these elements. What ideas do you envision incorporating into your shrink plastic designs?
Materials
Shrink Plastic Sheets
Sketchbook
Pencil, Eraser
Color Pencils
Color Markers
Permanent Black Marker
Scissors
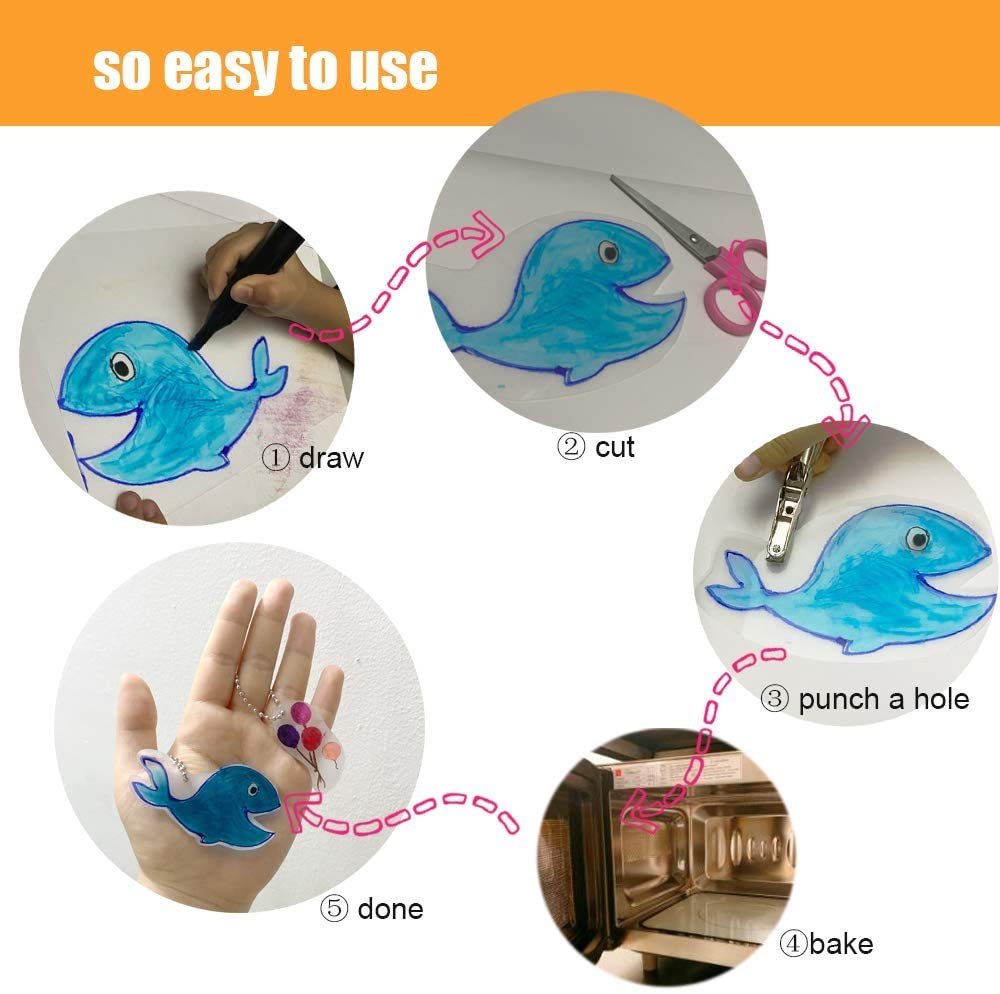
Step-by-Step Instructions
Preparation: Gather your Shrink Paper sheets, permanent markers, colored pencils, and any other desired drawing tools.
Planning Your Design: Trace a sheet of Shrink Paper in your sketchbook and draw your design ideas within the Shrink Paper outline. Consider the composition, typography, and illustration elements in your design.
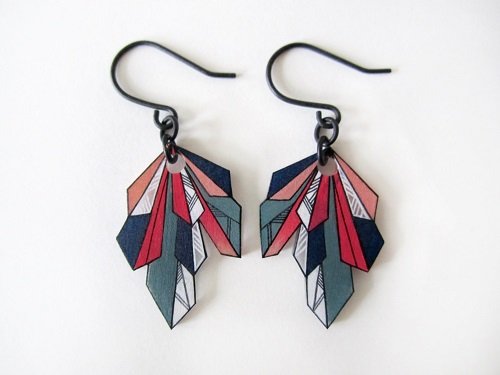
Draw on Shrink Paper: Transfer your finalized design onto the Shrink Paper sheet by tracing your design using a permanent markers or colored pencils. Pay attention to line thickness, color choices, and details, as they will shrink and intensify during the heating process.
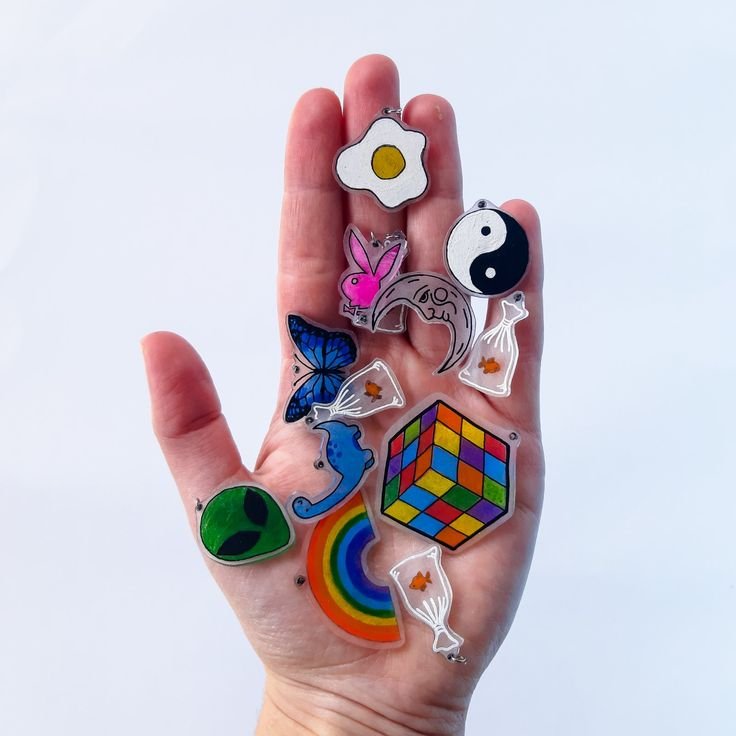
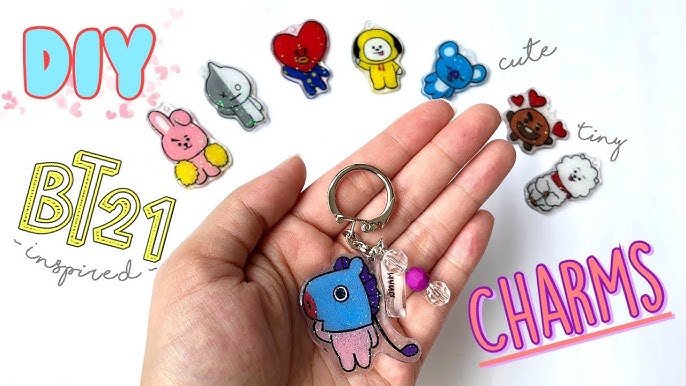
Cutting and Punching Holes: Carefully cut out your Shrink Plastic artwork using scissors or a craft knife. If you plan to turn your artwork into a keychain or pendant, use a hole punch to create a hole near the top of your design.
Shrinking Your Artwork: Place your Shrink Paper artwork on a parchment-lined baking sheet and carefully follow the instructions for shrinking in the oven. Watch as your artwork curls, shrinks, and then flattens out, indicating that it's ready to be removed from the oven.
Finishing Touches: Allow your Shrink Paper artwork to cool completely before handling it. If desired, add any additional details or embellishments to your artwork using markers or other craft supplies.
Reflecting and Sharing: Take a moment to reflect on your Shrink Paper artwork and the creative process you went through. Share your artwork with your classmates, discussing your design choices, techniques used, and any challenges or successes you experienced.
Terminology:
Shrink Paper — Also known as shrink film or shrink plastic, is a type of plastic sheeting that shrinks and thickens when heated.
Graphic Design — The art and practice of combining text, images, and other visual elements to communicate ideas and messages effectively.
Typography — The art and technique of arranging type to make written language legible, readable, and visually appealing.
Illustration — Visual interpretation or depiction of a concept, story, or idea through drawings, paintings, or digital artwork.
