
Lesson Summary
In this lesson, students will explore temporary spot tattoo art by creating their own designs and applying them to their skin. They will learn about the process of designing, printing, and applying temporary tattoos, fostering their creativity and self-expression.


Tattoos
Tattoos, dating back to ancient times, involve inserting ink into the skin for decorative, symbolic, or functional purposes. They vary widely in meaning and application, from cultural rites of passage to personal expressions of identity. Originally associated with certain lifestyles, tattoos today are chosen for artistic, sentimental, or practical reasons, reflecting an individual's beliefs, affiliations, or memories. They also serve functional roles in identification, permanent makeup, and medical contexts.
Brainstorm Discussion
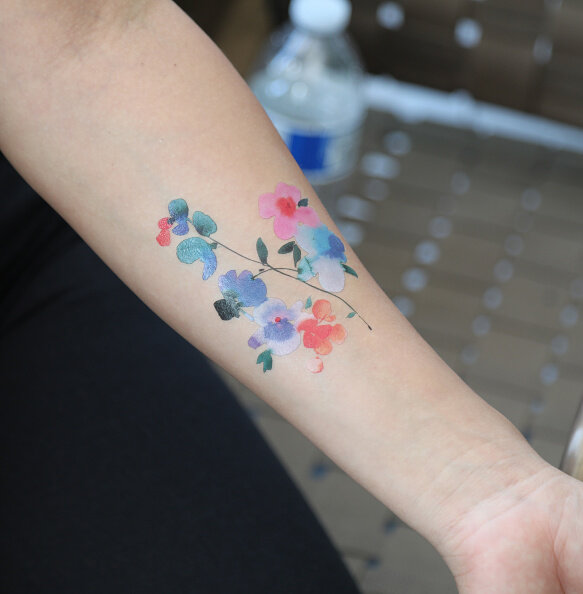
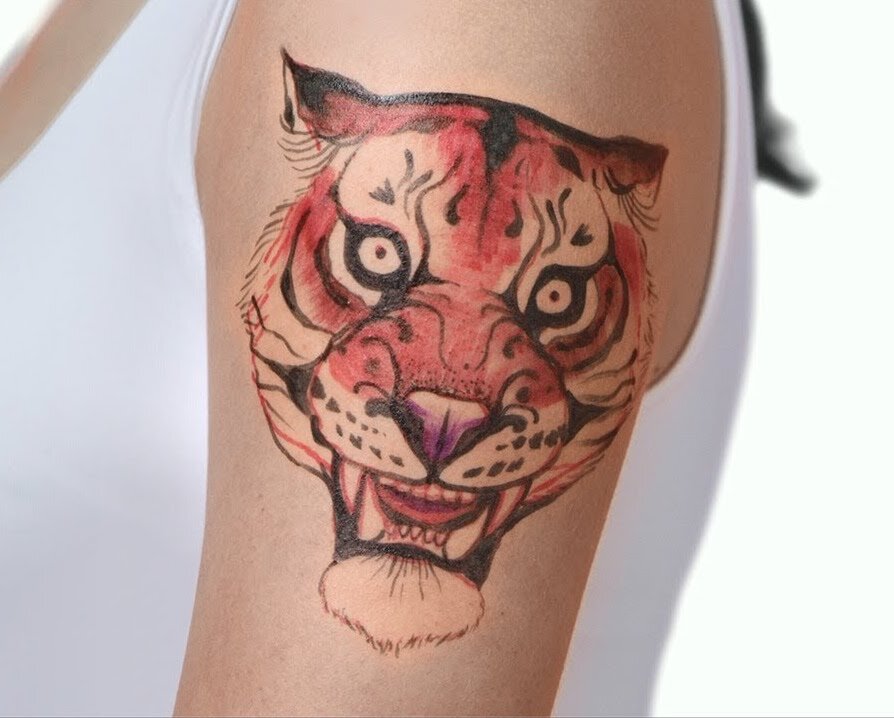
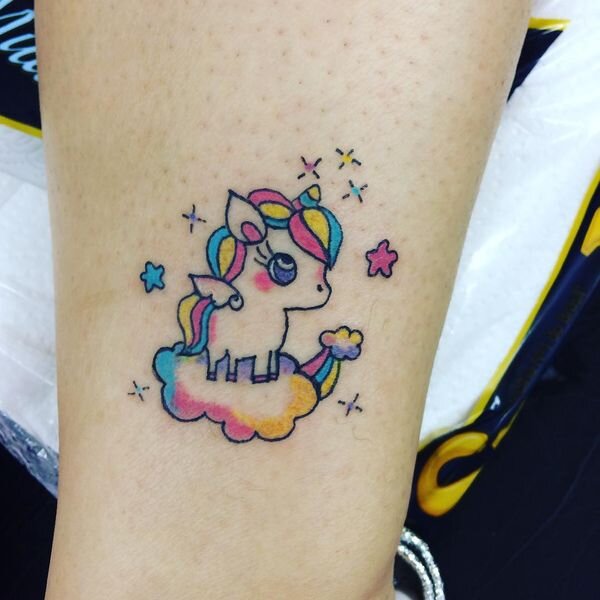
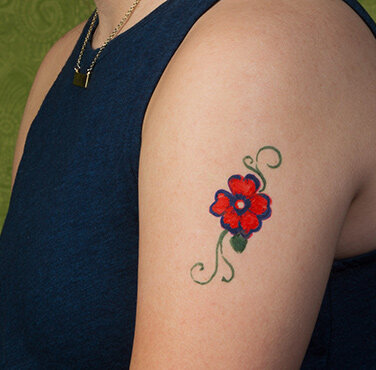
A lot of consideration should be put into getting a tattoo because it is permanently etched into skin. Luckily, we are putting on temporary tattoos so it won’t be such a big decision. (Whew!) Since the tattoo is displayed on your skin, it should reflect who you are. It should have significance in meaning for you. A spot tattoo can be a picture, a word, a phrase or a symbol with a meaning and story behind it.
What types of imagery best represent you? (e.g., rainbows, insects, plants, etc.)
What do you value most in your life?
Are there any words, slogans, or symbols that are meaningful to you?
What is your most consistent emotion?
Which color themes represent your personality well?
Do you have a favorite animal?

Express Yourself On Skin
Idea Development: Your tattoo should reflect your personality since it's displayed on your skin. Think of themes that represent who you are. It can be a slogan, animal, pattern, symbol, or even your name. Sketch out your ideas on paper.
Color Several Designs: Transform your conceptual ideas into tattoo designs. Apply design, typography, and color theory principles into your artwork. Create 2 to 3 tattoo designs.
Transfer Your Designs onto Skin: Choose your favorite design and place it on a suitable area of your body. Begin by outlining your design, then progress to adding colors. *Lightly press the flexible tip for finer detail lines or press down for broader strokes.
Make Another One: Once you've finished your first design, move on to the next one. You can have a friend apply the tattoo for you.

Materials
Sketchbook
Pencil and eraser
Color Markers
Damp cloth
Temporary Tattoo Markers
