

Lesson Summary
In this lesson, students will engage in sketching, sculpting, and painting to create abstract sculptures. They will have the creative freedom to select a theme, be it human, animal, object, or anything else, and transform it into an abstract representation. Initial concepts will be sketched in their sketchbooks, followed by a sculpting phase using clay. This form of sculpture encourages creativity and can evoke a wide range of emotions and thoughts.
Lesson Objectives
Think creativity and come up with non-literal concepts for ideas abstract sculptures.
Sketch, sculpt, and paint an abstract sculpture based on a theme of interest.
Make an audience elicit multiple interpretations from their artwork.

Required Materials
Sketchbook
Pencil & Eraser
Color Pencils
Paper clay
Paints & Brushes
Sculpting tools
Toothbrush (for Splatter Effects)
Acetate Sheet for the base of the sculpture
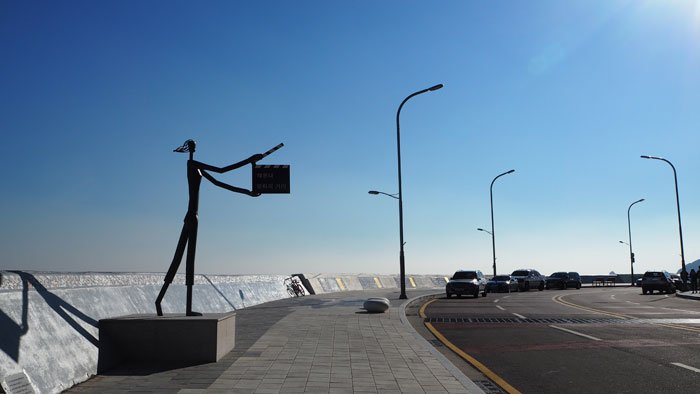
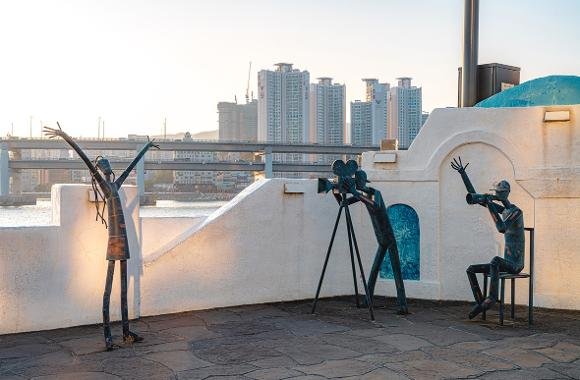
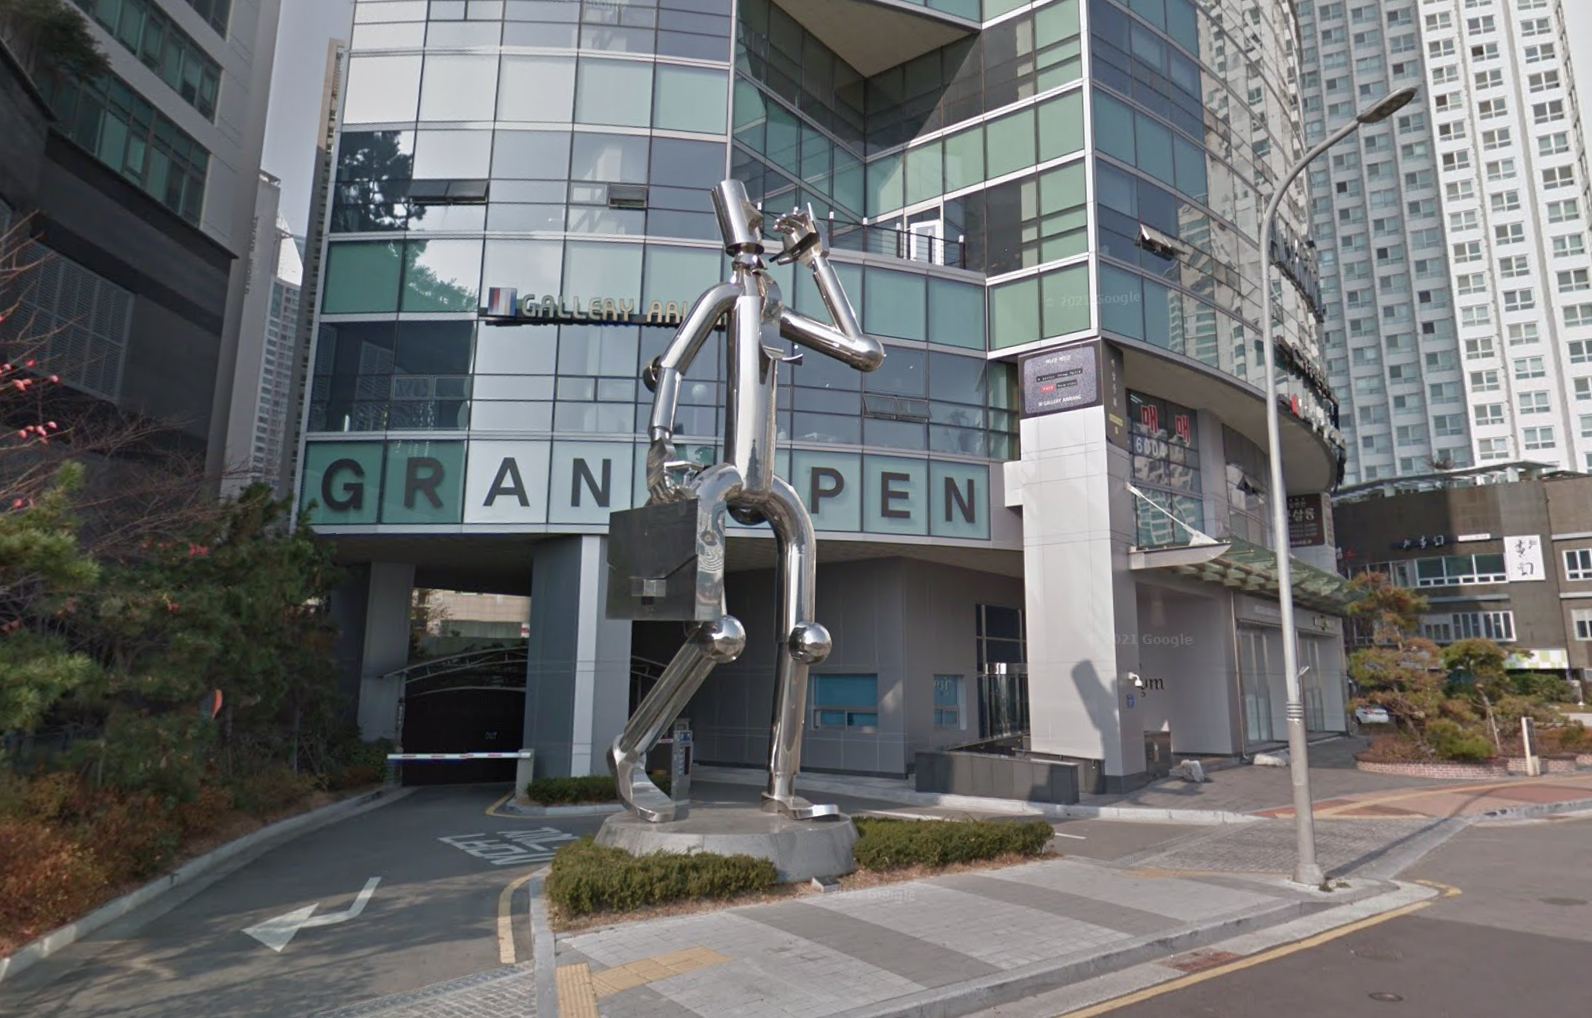
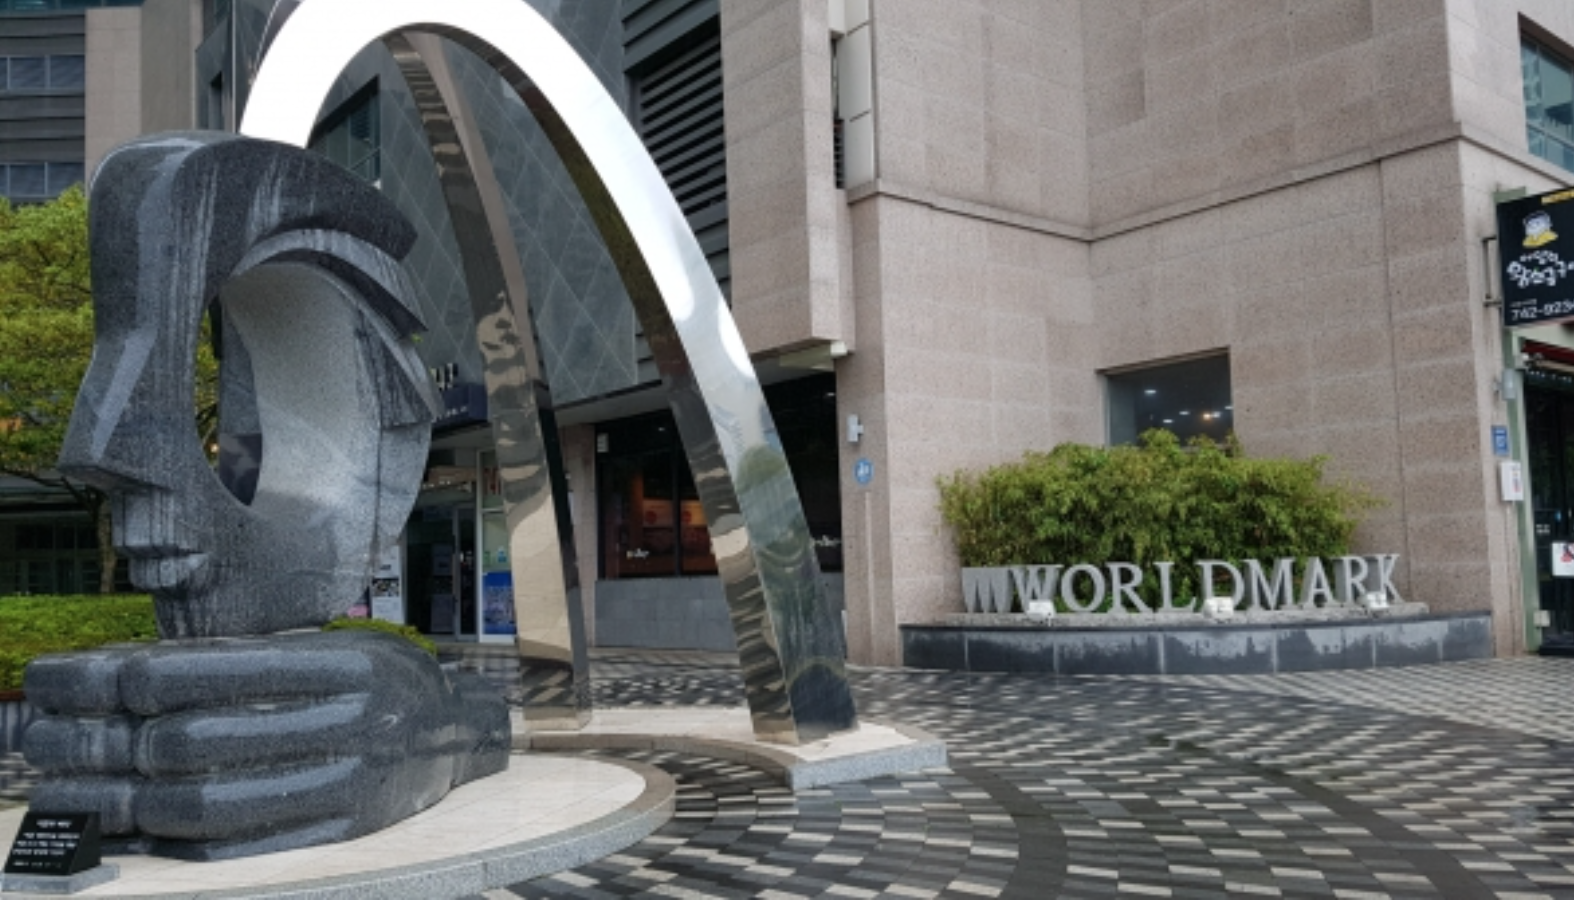
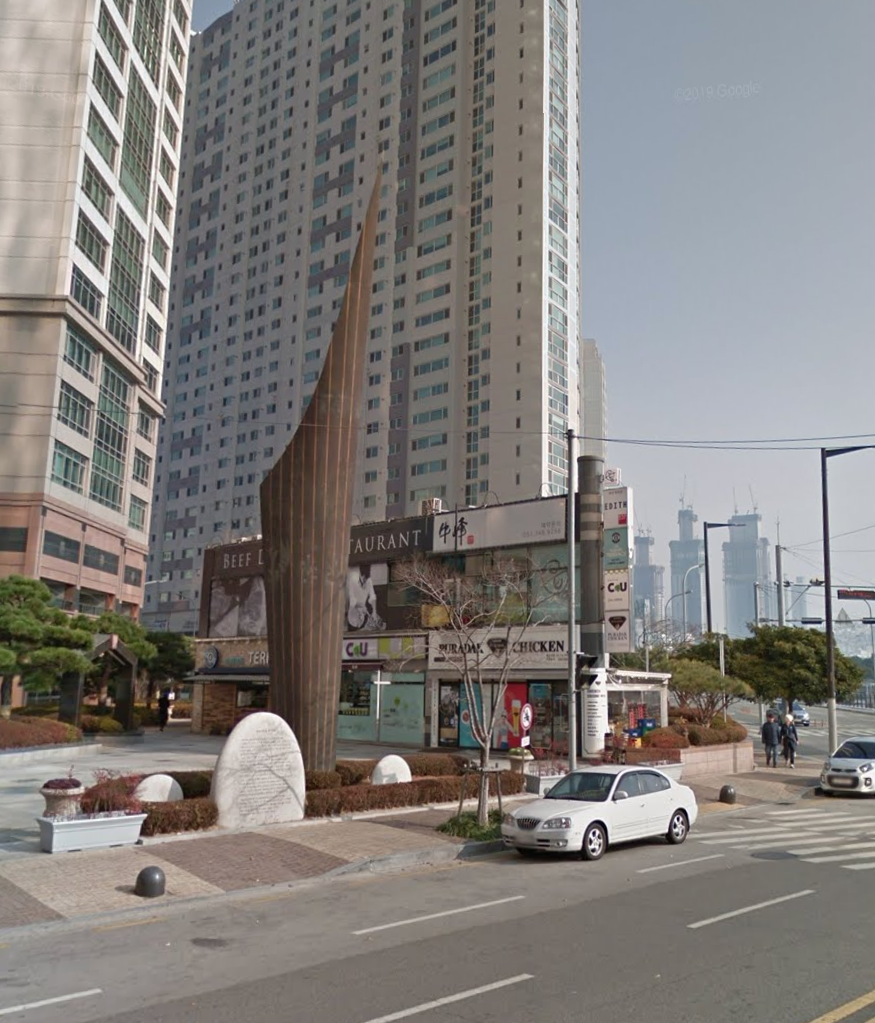
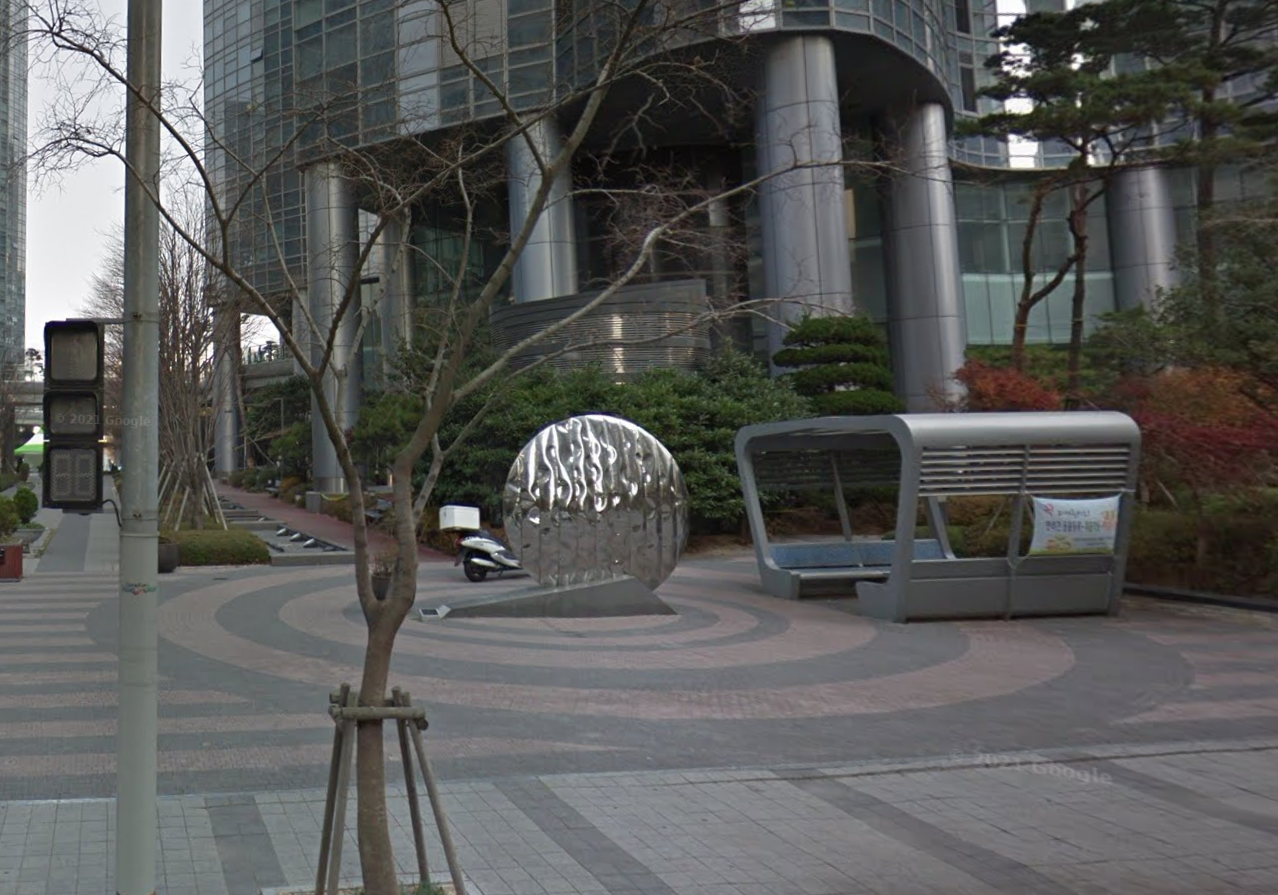
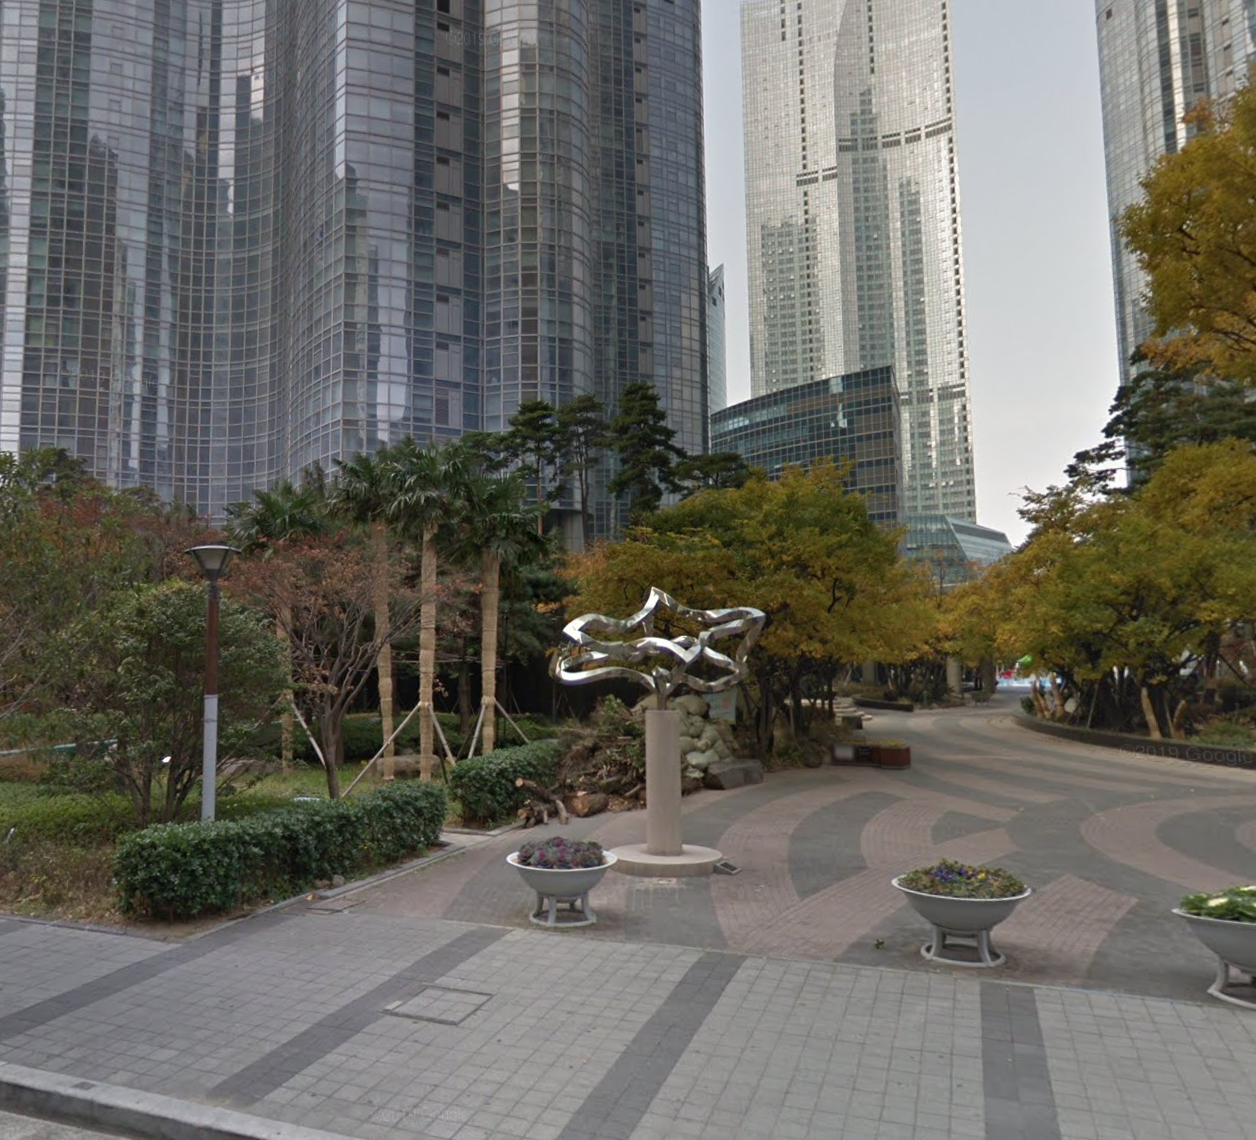
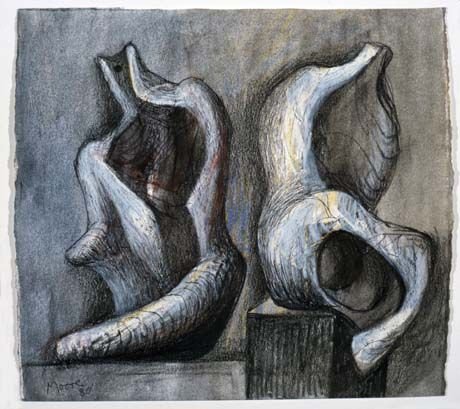
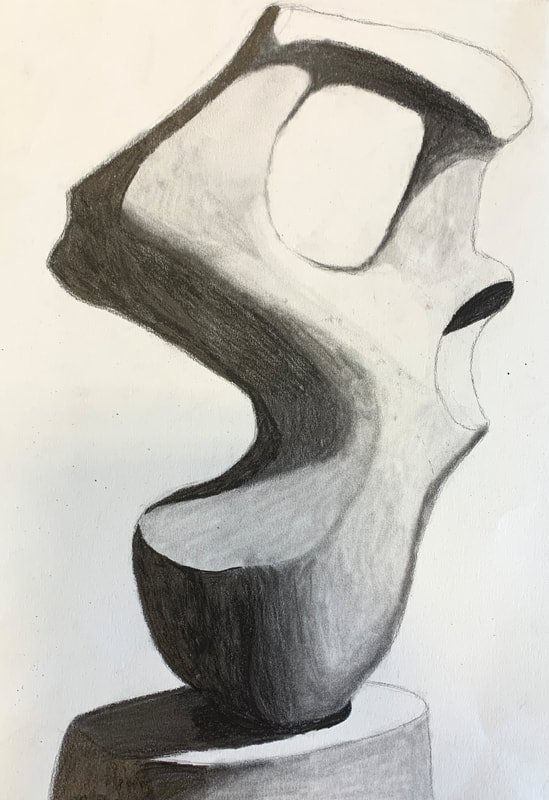
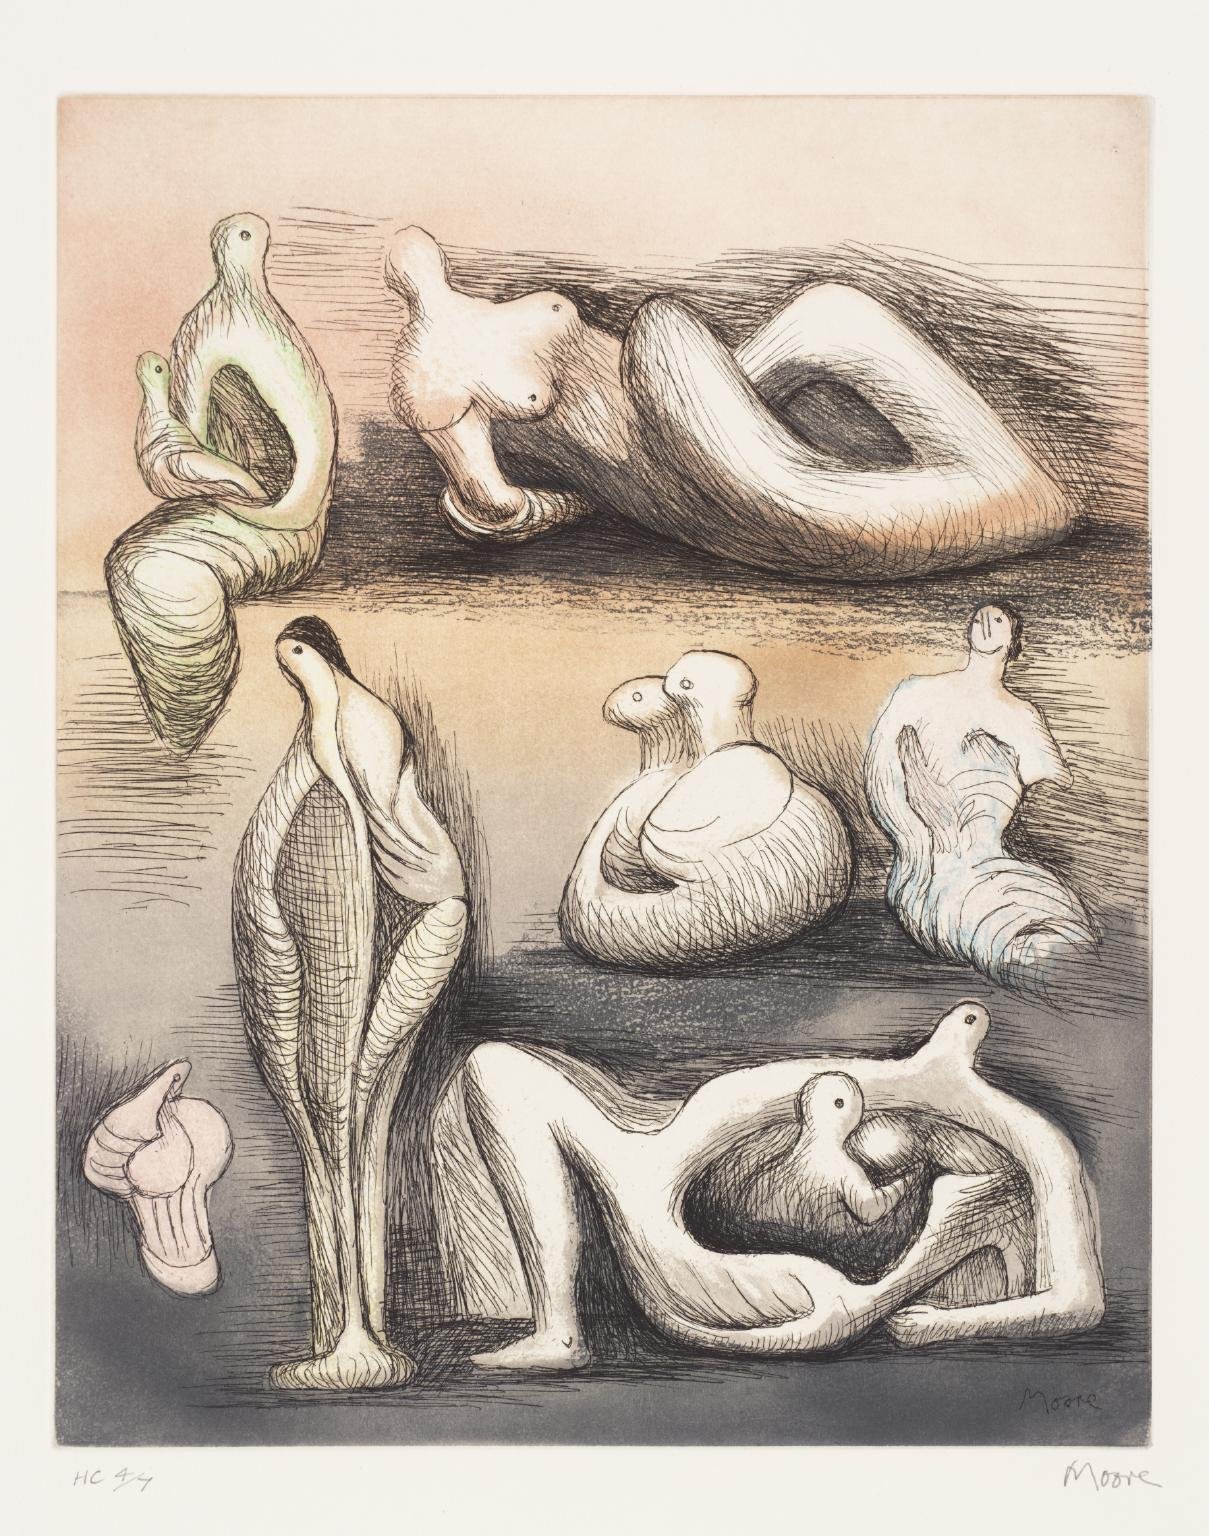
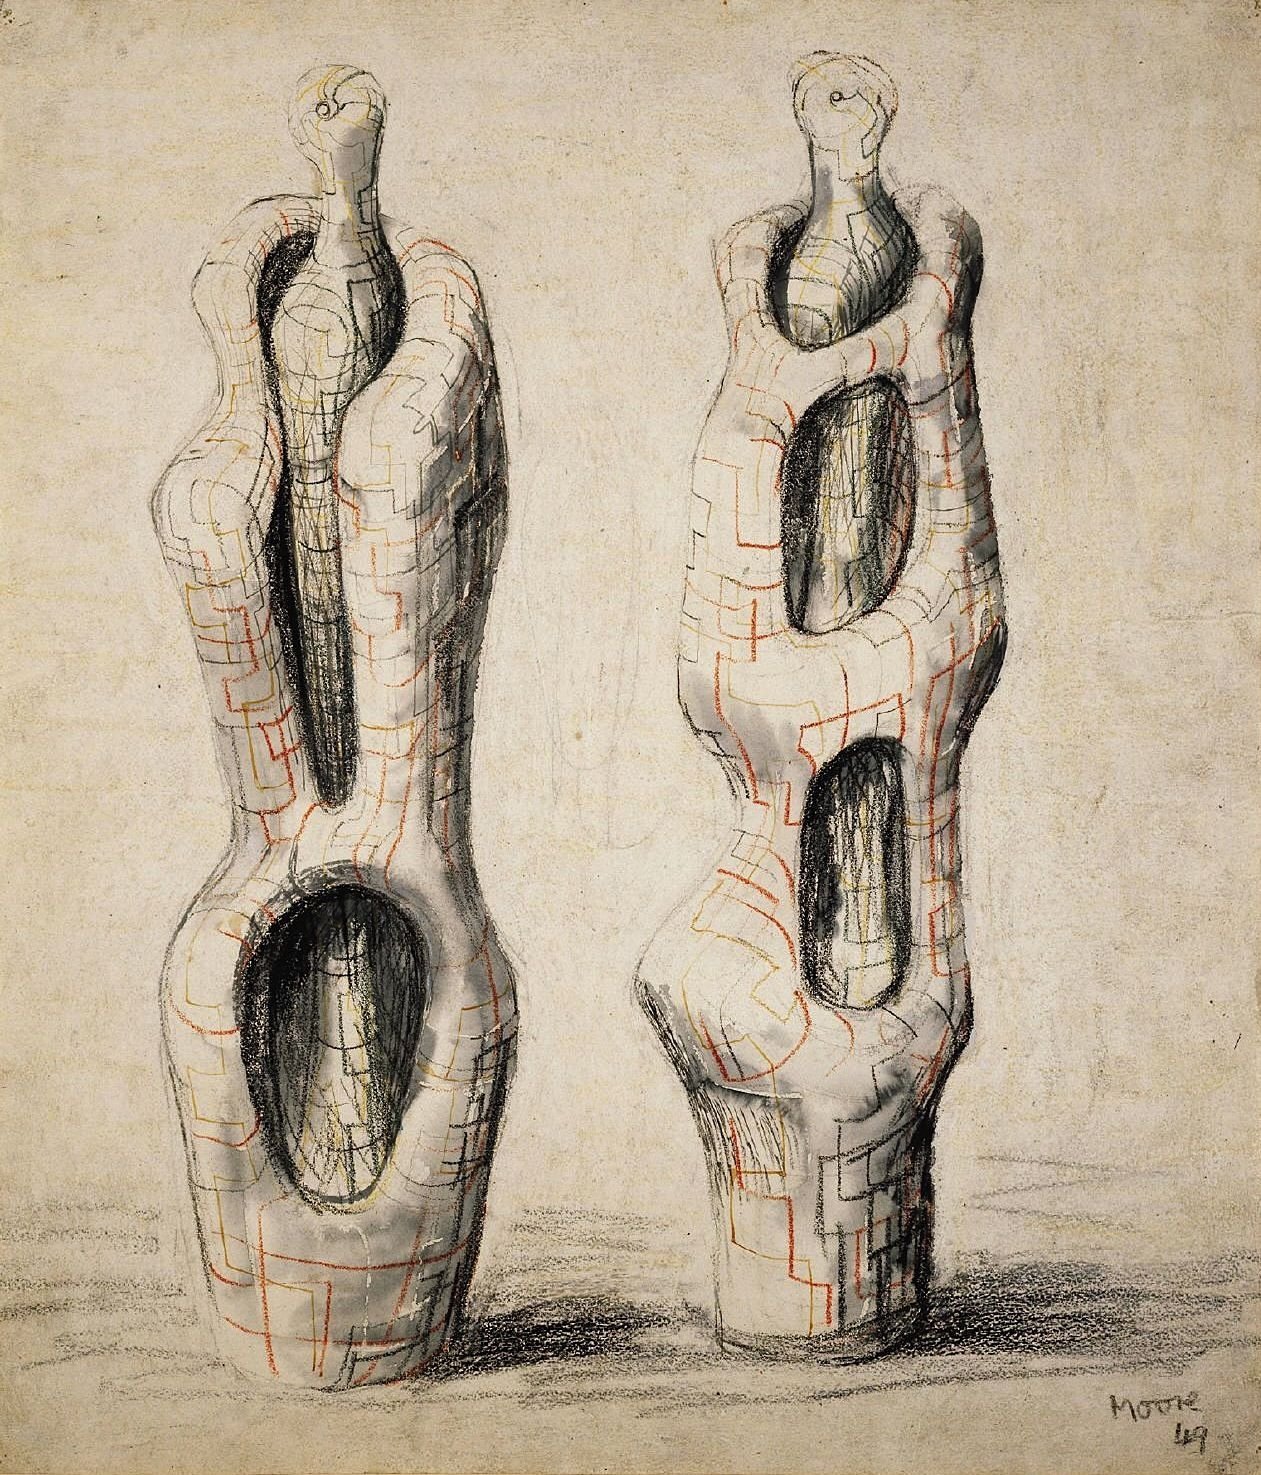
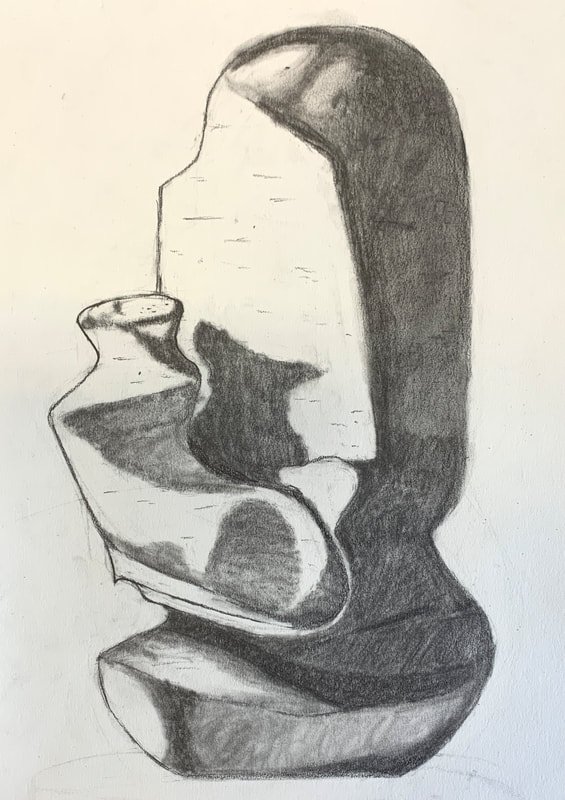
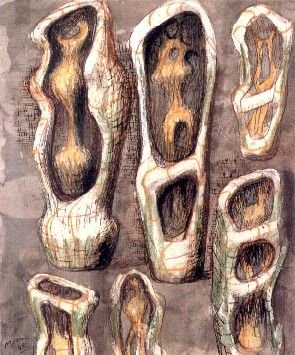
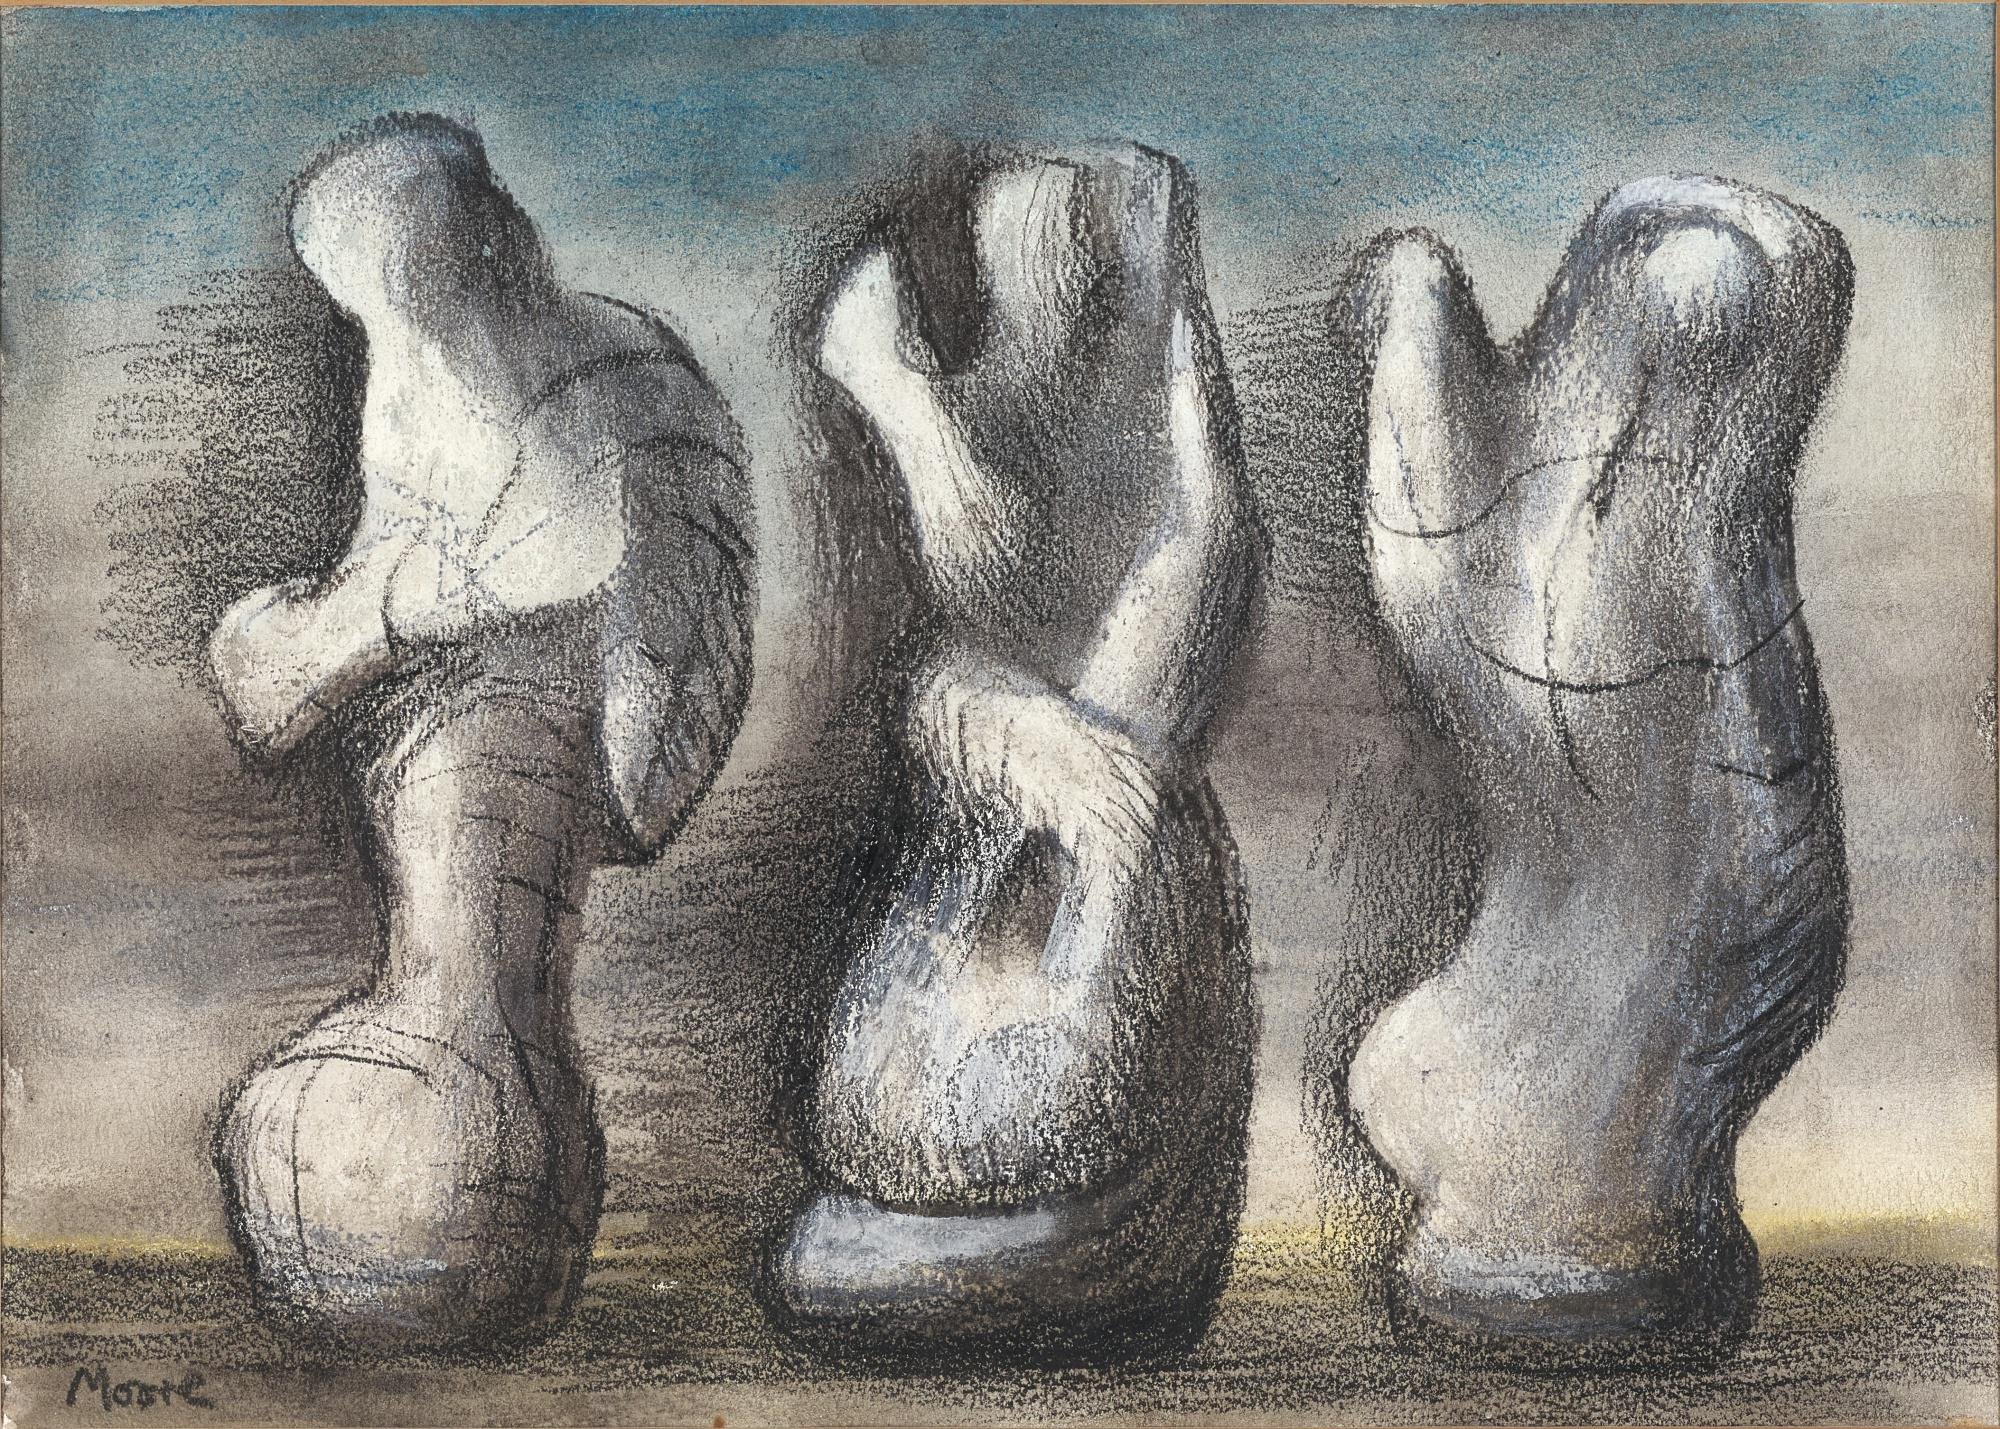
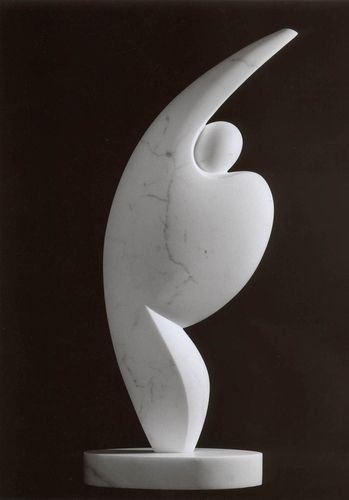
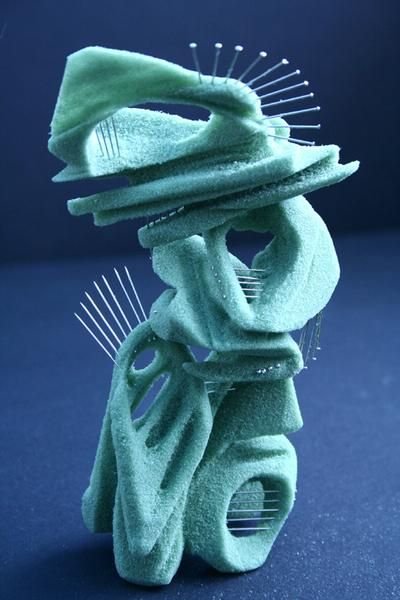
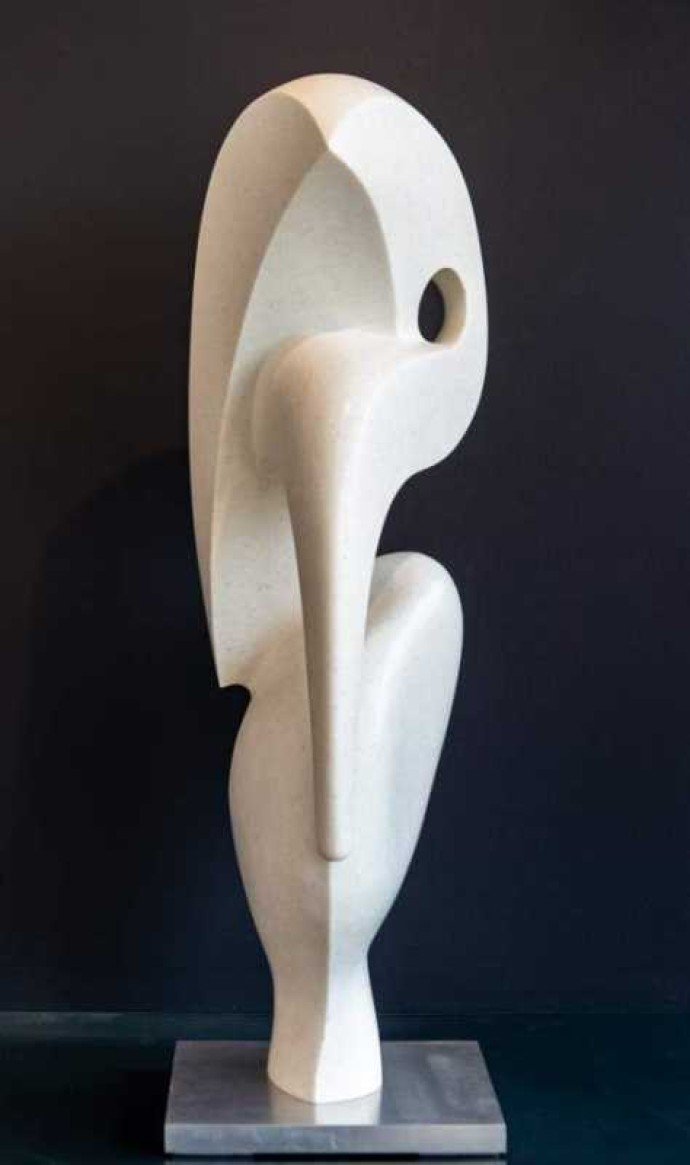
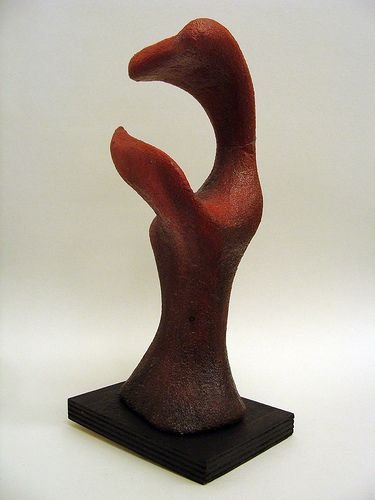
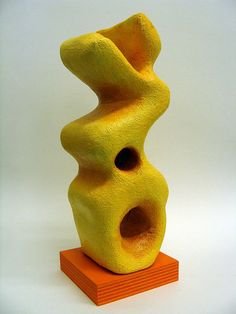
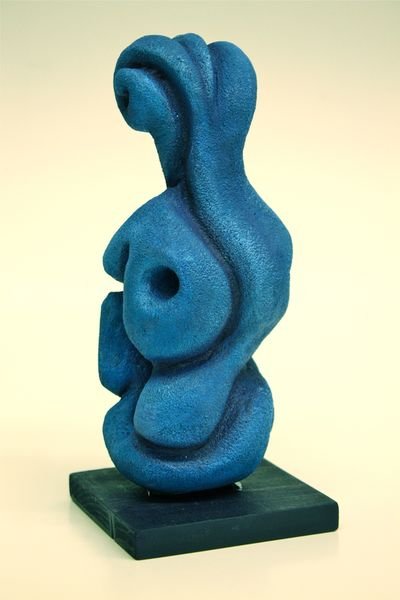
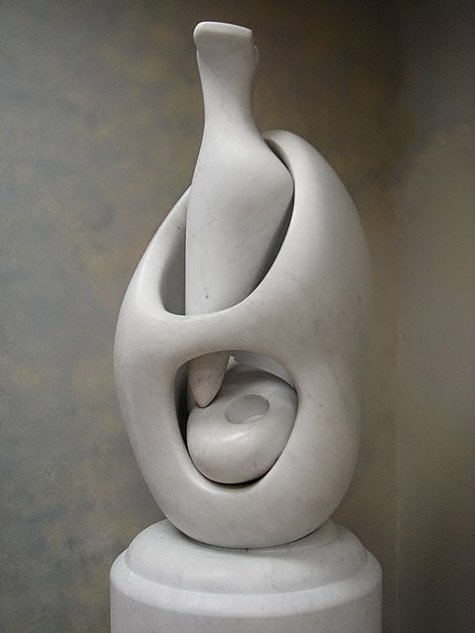
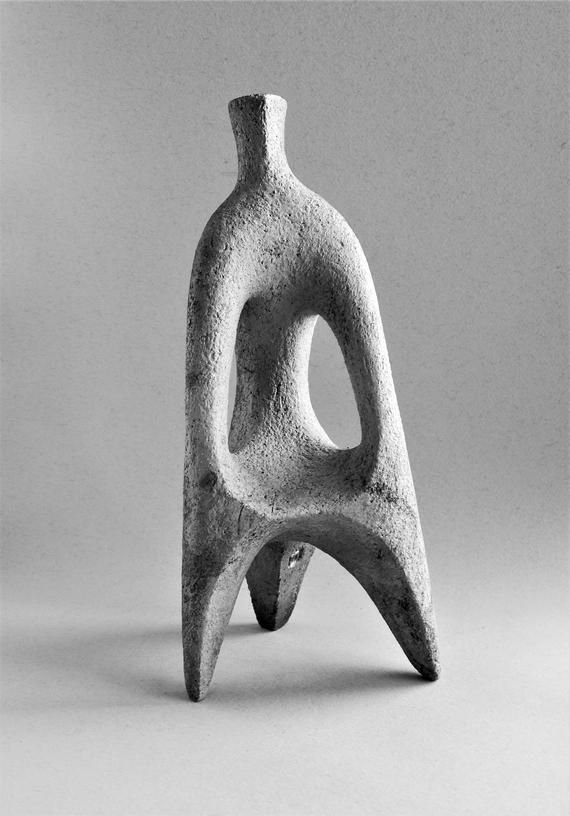
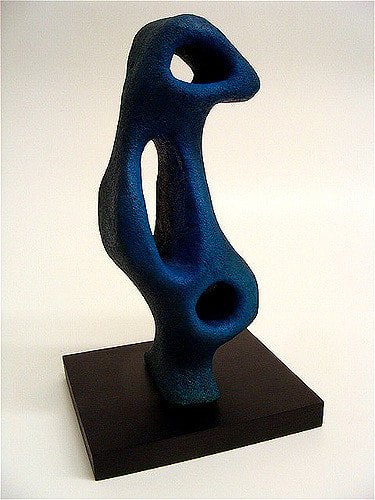
Abstract sculpture is a form of three-dimensional art that does not attempt to represent a realistic depiction of a specific subject. Instead, it emphasizes shapes, forms, colors, and textures to convey emotions, ideas, or concepts in a non-literal manner. The core of an abstract sculpture lies in capturing the subject's essence rather than portraying it realistically, allowing viewers to interpret its meaning. Advanced sculpture artists often evoke multiple interpretations through their artwork.
Discussion
Where have you’ve seen abstract sculptures?
Have you ever created an abstract sculpture or artwork? If so, what was your experience like?
Why do you think artists create abstract sculptures instead of realistic ones?
When looking at an abstract sculpture, how do you approach interpreting its meaning or message?
Do you believe that everyone can find their own meaning or interpretation in an abstract sculpture, or are there limits to interpretation?


What to Do
Conceptualize: Select a theme for your sculpture based on your interests, like dancing, horseback riding, or music. Think about how you can express this theme in an abstract way.
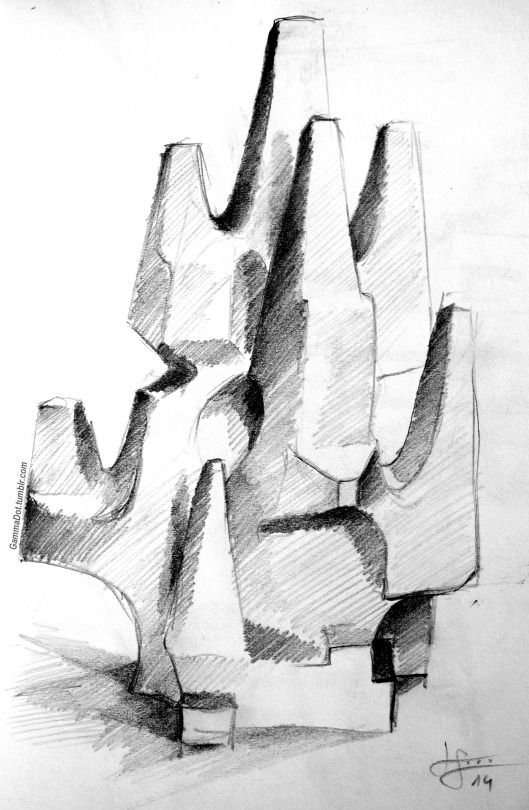
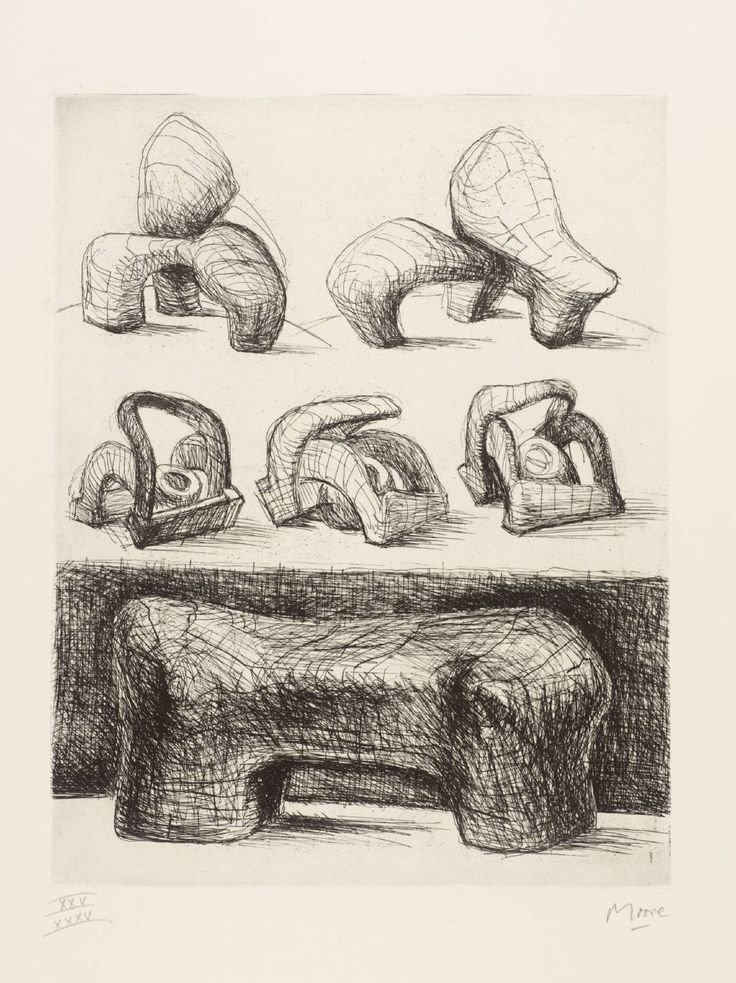
Sketch: Make sketches of your subject from different angles. Pay attention to the basic shapes, movement, and details that capture its essence. This stage will help you decide on your subject and determine its physical form.
Color: Think about which colors best express your idea and use them to color your sketch.
Clay Practice: Get to know the sculpting material by shaping basic three-dimensional forms like spheres, cubes, cylinders, and cones. Experiment with attaching these shapes using sculpting tools and water.
Sculpt: Begin sculpting your idea. If needed, use newspaper wrapped in aluminum foil to create the base structure. Then, cover it with clay and sculpt your concept. This reduces the sculpture's weight and speeds up drying time.
Refine: Use sculpting tools to add details and make refinements to your sculpture.
Air Dry: Let your sculpture dry for a few days until it's completely hardened.
Scrape: Once your sculpture has dried, use various carving tools to refine your sculpture.
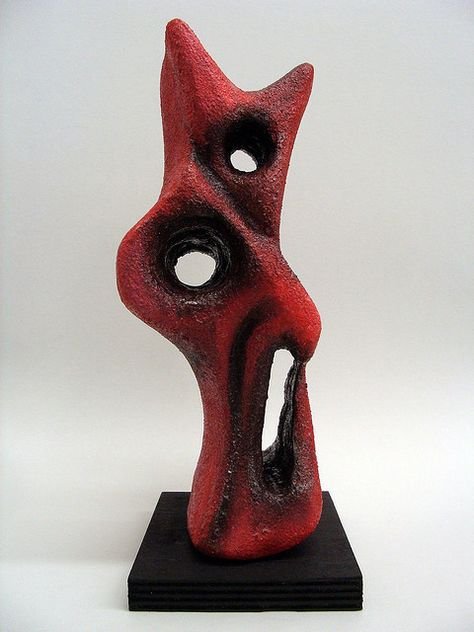
Paint: Paint your sculpture. Use a wide brush for larger areas and a small brush for finer details. Start by applying lighter colors first.
Interpretation: Finally, invite your classmates to interpret the meaning of your sculpture. Discuss what they see and feel when they look at it.

Terminology
Paper Clay - Is a sculpting material that handles similar to traditional soil clay. It can be moulded and air dried to a hard finish.
Scoring - To scratch hatch marks on parts of the clay in order to stick the pieces together better.
Firing — Baking pottery in a kiln.
Kiln — A furnace or oven used for firing pottery.
Glazing - A smooth, shiny coating that aesthetically enhances and protects a sculpture.
